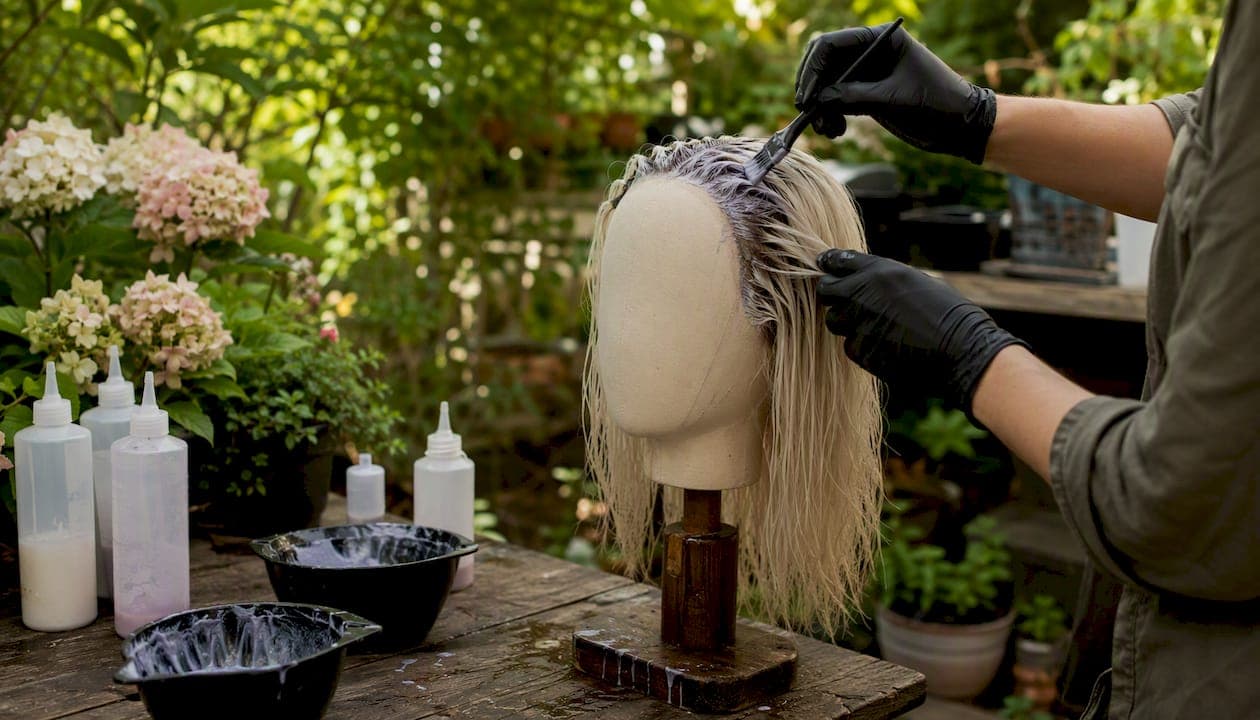
Yes, you can dye a wig — but the method that works depends entirely on whether the wig is human hair or synthetic. Human-hair wigs accept standard semi-permanent and permanent hair color. Synthetic wigs need fabric dyes formulated for synthetics (such as Rit DyeMore), watercolor baths, or alcohol-based inks. The one rule that applies to both: you can safely deposit color and go darker, but you cannot safely lighten a wig at home without bleach and professional-level skill.
Before you touch any dye: run a strand test on a hidden section near the nape. It takes 10 minutes and prevents an irreversible mistake. Protect any lace front with petroleum jelly before applying color, and always work in a ventilated space with gloves on.
Three immediate safety points to keep in mind:
- Lace fronts stain permanently if left unprotected during dyeing.
- Synthetic fibers melt or warp if exposed to temperatures that are too high.
- A strand test is a professional-standard step, not optional — it shows exactly how the wig will react and sets correct processing time.
Key Takeaways
Dyeing a wig safely requires matching the dye type to the fiber: human hair takes standard hair color for deposit-only work, while synthetic fibers need Rit DyeMore, watercolor baths, or alcohol-based inks.
| Point | Details |
|---|---|
| Identify fiber type first | Burn-test shed strands before choosing a method; the wrong dye on synthetic fibers will not bond. |
| Strand test is mandatory | Test in a hidden section to confirm color result and set correct processing time before full application. |
| Deposit only, never lift at home | Go darker safely with standard or fabric dyes; lightening requires bleach and professional skill. |
| Protect lace before any dye | Apply petroleum jelly along the lace hairline before mixing dye to prevent permanent staining. |
| Hire a pro for high-value wigs | For lightening, multi-tonal work, or wigs over $200, a professional colorist is worth the cost. |
Table of Contents
- How do you dye a wig? Choosing the right method fast
- What supplies do you need before you start?
- How to dye a human-hair wig safely, step by step
- How to dye synthetic wigs: hot-dip, watercolor, and alcohol inks
- Special situations: lace fronts, pre-styled wigs, ombré, and lifting color
- How to wash, store, and keep your dyed wig looking good
- Common mistakes and how to fix them
- When should you hire a professional colorist instead of DIY?
- What the research and pros consistently recommend
- The practical case for knowing your limits
- Sources
How do you dye a wig? Choosing the right method fast
The fastest way to pick your method is to answer four questions: What fiber is the wig? What color direction are you going (darker or lighter)? How much is the wig worth? And how much time and skill do you have?
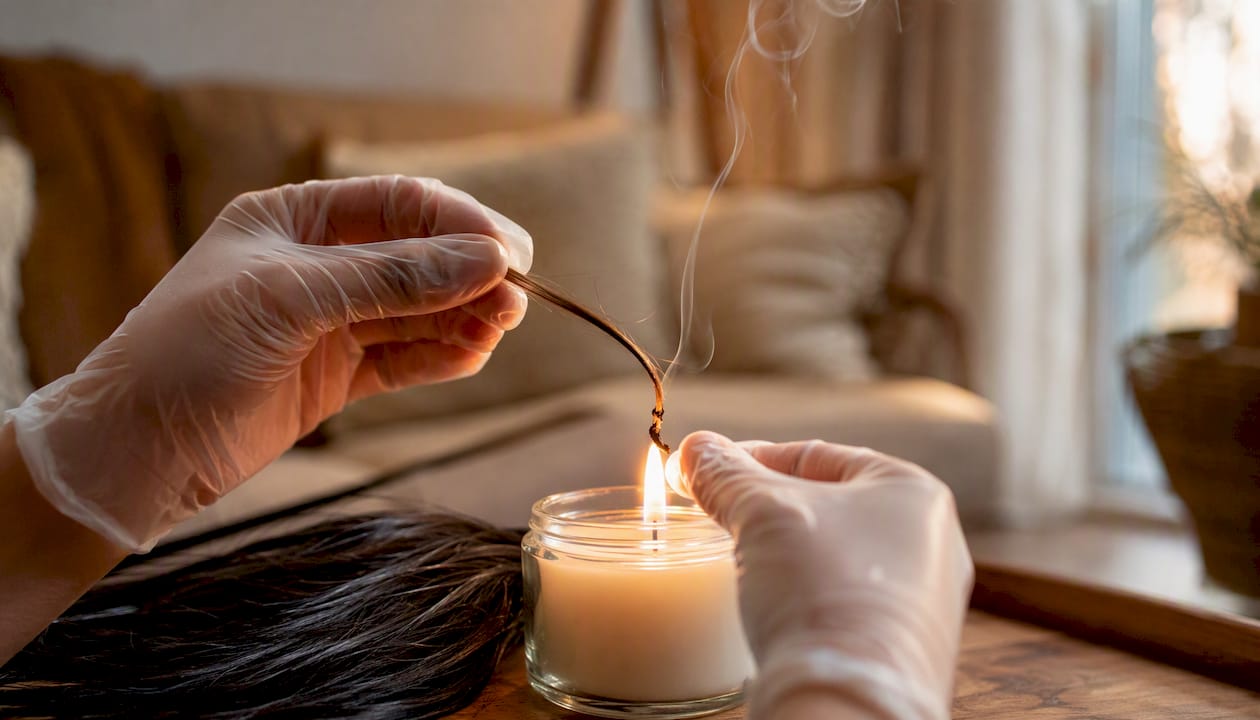
Fiber identification first. If you are unsure whether a wig is human hair or synthetic, do a burn test on a few shed strands. Human hair burns slowly, smells like burning protein, and leaves a crushable ash. Synthetic fibers melt, smell like burning plastic, and leave a hard bead. Visual cues also help: synthetic wigs often have a uniform shine and feel slightly slippery.
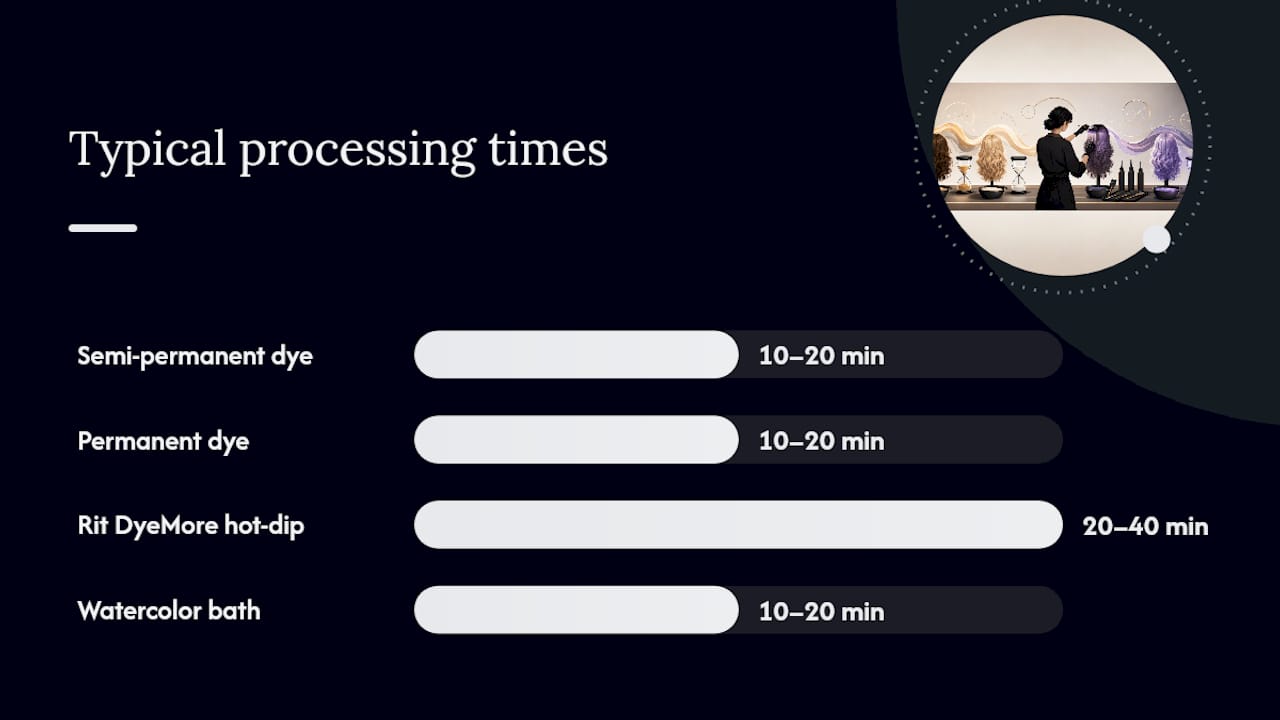
| Method | Best for | Permanence | Skill level | Damage risk | Typical time |
|---|---|---|---|---|---|
| Semi-permanent dye | Human hair, darker tones | lasts for several weeks with regular washing | Beginner | Low | 10–20 minutes processing |
| Permanent dye | Human hair, lasting color | Permanent | Intermediate | Moderate | 10–20 minutes processing |
| Rit DyeMore hot-dip | Synthetic fibers | Semi-permanent | Intermediate | Moderate (heat risk) | 20–40 min |
| Watercolor bath | Light synthetic or human hair | Semi-permanent | Beginner | Low | 10–20 minutes |
| Alcohol-based inks (Copic) | Synthetic, precision work | Semi-permanent | Intermediate | Low | Varies by detail |
When should you replace rather than dye a synthetic wig? If the wig is already a dark color and you want something brighter or lighter, dyeing will not achieve the result. Synthetic fibers can only absorb darker pigment over an existing base. A heavily tangled, heat-damaged, or very inexpensive wig is also often not worth the effort — a fresh wig in the right base color is a better starting point.
What supplies do you need before you start?
Gathering the right tools before you open any dye bottle saves time and prevents mid-process mistakes. The list varies by method, but several items apply to every approach.
Core tools for all methods:
- Nitrile or latex gloves (double up for hot-dip methods)
- Nonmetal mixing bowls
- Mannequin head and wig stand
- Wide-tooth comb and sectioning clips
- Old towels and plastic sheeting to protect surfaces
- Petroleum jelly for lace-front protection
For human-hair wigs:
- Semi-permanent or permanent hair dye
- Developer (10 or 20 volume for deposit-only; see the timing table in the next section)
- Color application brush and mixing bowl
- Clarifying shampoo for prep wash
- Deep conditioning mask for post-dye treatment
For synthetic wigs:
- Rit DyeMore (formulated for polyester and synthetic fibers — not standard Rit All-Purpose)
- Heat-safe pot or bowl for hot-dip methods
- Thermometer to monitor water temperature
- Alcohol-based inks or Copic markers for precision color work
- Isopropyl alcohol for diluting inks
Safety items:
- Ventilation: open a window or work outdoors
- Barrier cream along the hairline and on any exposed lace
- Temperature control: a thermometer is non-negotiable for hot-dip synthetic methods
Pro Tip: Apply petroleum jelly generously along every edge of the lace front before mixing any dye. A thin barrier on the lace prevents staining and keeps the hairline looking natural after the process.
How to dye a human-hair wig safely, step by step
Human-hair wigs accept standard hair color, but they are more fragile than natural hair growing from a scalp. There are no scalp oils replenishing the strands, and many wigs arrive already processed from the factory. That combination means dryness and breakage happen faster than on natural hair.
Step 1: Identify the fiber and do a strand test
Cut a few shed hairs from the nape area or a hidden section. Perform the burn test described above. Once you confirm human hair, apply a small amount of your chosen dye to that same hidden section, process for the time the manufacturer recommends, then rinse and dry. Check the result before committing to a full application.
Step 2: Prep the wig
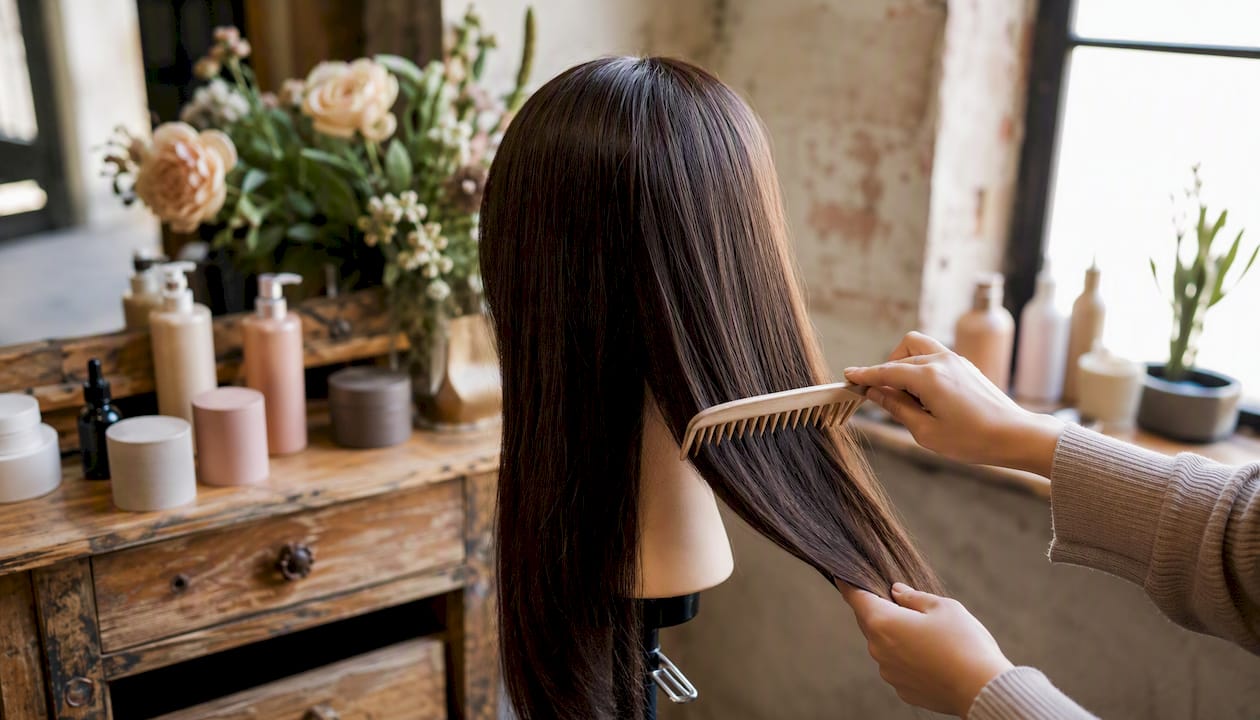
Wash with a clarifying or sulfate-free shampoo to remove product buildup. Detangle gently with a wide-tooth comb, then place the wig on a mannequin head. Apply petroleum jelly along the lace hairline and over any exposed knots to prevent staining.
Step 3: Mix and apply
For single-tone deposit, mix dye and developer in a nonmetal bowl. Work in thin sections with a color brush, starting at the ends and moving toward the roots. For ombré or highlights, use the brush-on method and work in smaller subsections. Sectioning on a mannequin head and applying in thin layers reduces patchiness significantly.
Step 4: Process and rinse
Rinse with cool water from roots to ends until the water runs clear. Follow immediately with a deep conditioning mask, leave it on for 5–10 minutes, then rinse again. Air-dry on the wig stand. Avoid high-heat styling tools for at least 48 hours after dyeing.
Pro Tip: Never apply conditioner directly to the root knots on a lace-front wig during the post-dye rinse. Conditioner on the knots loosens them over time and causes shedding.
When to stop and call a pro:
- The wig has already been chemically processed (bleached, permed, or previously dyed multiple times).
- You want to go lighter. Lightening a human-hair wig at home is risky and may cause irreversible damage without professional-grade knowledge of the wig's processing history.
- The wig cost more than you are comfortable risking.
How to dye synthetic wigs: hot-dip, watercolor, and alcohol inks
Synthetic fibers are plastic-like in structure. Standard box hair dye will not bond to them and leaves a sticky, uneven result. The three methods that actually work are the Rit DyeMore hot-dip, the watercolor bath, and alcohol-based inks for precision work.
Hot-dip with Rit DyeMore
This is the go-to method for cosplayers who need a full color change on a synthetic wig. Heat water to near-boiling (around 180–200°F), add Rit DyeMore, and submerge the wig in sections or fully, depending on the desired effect. The hot-dip method requires precise temperature control: too hot and the fibers warp or melt; too cool and the dye will not absorb evenly.
- Always test a small section first before submerging the full wig.
- Use a thermometer — guessing the temperature is how fibers get ruined.
- Stir gently and keep the wig moving to avoid uneven patches.
- Remove, rinse in cool water, and air-dry completely before judging the final color.
One important note: color looks noticeably darker when wet and lighter once fully dry. Do not add more dye because the wet result looks too light. Let it dry first.
Watercolor bath
The watercolor method mixes semi-permanent hair dye into hot (not boiling) water and submerges the wig. It works best on blonde or very light bases (613 or white) and produces quick, even all-over color. It is the gentlest of the three methods and the easiest for beginners. The color is semi-permanent and will fade with washing, which makes it a good choice for cosplay wigs you plan to refresh between events.
Alcohol-based inks and Copic markers
Alcohol-based inks such as Copic bond to synthetic fiber surfaces and allow precision work that fabric baths cannot achieve: streaks, gradients, shading, and small corrections. Dilute the ink with isopropyl alcohol to control intensity, apply with a brush or the marker tip directly, and seal with a light mist of isopropyl alcohol once dry. Custom wig artists often combine methods — Rit DyeMore for the base color, then Copic inks to add depth and shading after the base is set.
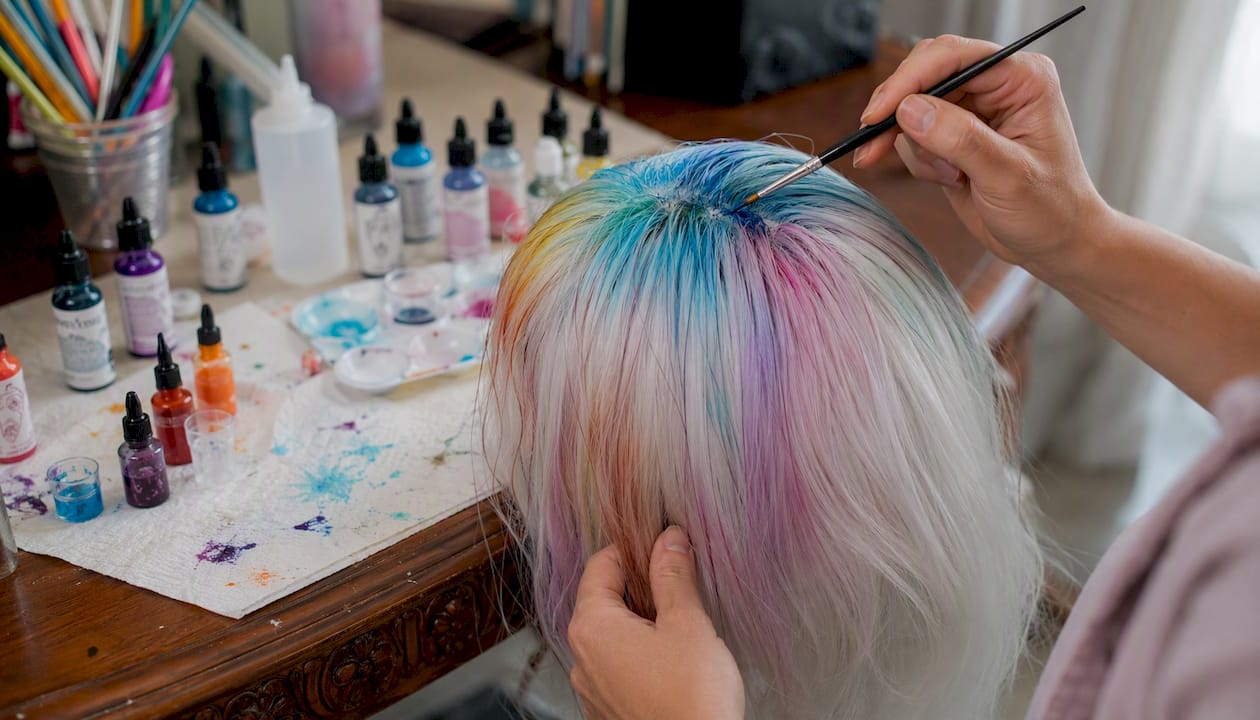
For vibrant results, start from a white or platinum base. Adding color is overlaying pigment on an existing base; a dark starting color will mute any new hue significantly.
Pro Tip: Never heat-dry a synthetic wig after dyeing. Air-dry on a wig stand away from direct sunlight. Heat from a dryer or styling tool can warp fibers that were already stressed by the hot-dip process.
Special situations: lace fronts, pre-styled wigs, ombré, and lifting color
Protecting lace fronts
Lace stains permanently. Before any dye application, coat the lace and knots with petroleum jelly or a thick barrier cream. Work carefully around the hairline with a small brush, and avoid flooding the lace with dye. If dye does reach the lace, blot immediately with a damp cloth — do not rub.
Pre-styled and heat-set wigs
Heat-set curls and waves on synthetic wigs are set at the factory using high temperatures. Submerging a heat-set wig in near-boiling water for a hot-dip dye job will relax those curls permanently. If the style matters, use the watercolor bath at a lower temperature or alcohol inks instead, and accept that some texture loss is possible.
Streaks, ombré, and lowlights
Brush-on techniques with semi-permanent dye (human hair) or alcohol inks (synthetic) give the most control for multi-tonal effects. Work in thin sections, blend at the transition points with a clean brush, and check progress frequently. For ombré on human hair, apply dye from the mid-shaft down and feather upward with a dry brush.
Pro Tip: For ombré on a synthetic wig, dip only the lower portion of the wig into the Rit DyeMore bath rather than submerging the full length. The gradient forms naturally at the water line.
Why you should not try to lift color at home
Bleach on a processed human-hair wig is unpredictable. The manufacturing history of the wig — what chemicals were used, how many times it was processed — is rarely disclosed, and that history changes how the hair responds to bleach. On synthetic fibers, bleach does not lift color at all and will damage the fibers instead. If you need a lighter result, a professional colorist with wig experience is the right call.
- Color removal from synthetic wigs is generally not possible.
- Color stripping from human-hair wigs requires professional-grade products and may still leave damage.
- Plan conservatively: choose a base color close to your target before you buy the wig.
How to wash, store, and keep your dyed wig looking good
Color longevity depends as much on aftercare as it does on the dyeing process itself.
Washing:
- Use a color-safe or wig-specific shampoo in cool water. Hot water accelerates fading on both human-hair and synthetic wigs.
- Wash synthetic wigs infrequently to preserve color; human-hair wigs can be washed slightly more often but less washing overall helps maintain color.
- Never rub or wring. Submerge, swish gently, and rinse thoroughly.
Storage:
- Store on a wig stand or mannequin head to preserve shape.
- Keep away from direct sunlight, which fades color faster than washing does.
- Use a breathable wig cap cover for long-term storage.
| Dye method | Expected color lifespan | Refresh frequency |
|---|---|---|
| Semi-permanent on human hair | 4 weeks with regular washing | Every 4 weeks |
| Permanent on human hair | Until new growth / fading | Touch up roots as needed |
| Rit DyeMore on synthetic | Several months with gentle care | As needed when fading shows |
| Alcohol inks on synthetic | Variable; fades faster with friction | Spot-refresh with diluted ink |
Deep conditioning for human-hair wigs: Apply a conditioning mask once every 2–3 wears after dyeing. Avoid the root area on lace fronts. Leave on for 5 minutes and rinse with cool water.
Pro Tip: A leave-in conditioner spray applied before air-drying adds moisture back to human-hair wigs without the weight of a rinse-out product. It also reduces static on synthetic wigs.
Common mistakes and how to fix them
1. Patchy or uneven color
Cause: Uneven application, product buildup on the wig before dyeing, or insufficient saturation. Fix: Re-apply dye to lighter patches only, working in thin sections. For synthetic wigs, a second short hot-dip pass on the lighter areas can even out the result.
2. Brassy or orange tones on human hair
Cause: Insufficient processing time or a warm underlying pigment. Fix: Apply a blue or purple toner mixed with a 10-volume developer. Process for 10–15 minutes, check frequently, and rinse as soon as the desired tone is reached.
3. Dye-stained lace
Cause: Insufficient barrier protection before application. Fix: Dab the stained area with a cotton ball soaked in isopropyl alcohol. Work gently and in small sections. Repeat until the stain lightens. Complete removal is not always possible, so prevention is the better strategy.
4. Color looks too dark after drying (synthetic wigs)
Cause: Judging color while the wig is still wet. Fix: Air-dry fully before deciding whether to adjust. The final dry color is always lighter than the wet color.
5. Melted or warped synthetic fibers
Cause: Water temperature too high during hot-dip, or heat-drying after the process. Fix: There is no fix. Melted fibers are permanent damage. If only a small section is affected, trim it out. If the damage is widespread, replace the wig.
Color correction do's and don'ts:
- Do use toners for brassiness on human hair.
- Do dilute and re-apply alcohol inks for patchiness on synthetics.
- Do not attempt to strip color from synthetic wigs — it does not work and causes damage.
- Do not bleach a wig at home to correct an overly dark result.
When should you hire a professional colorist instead of DIY?
Some jobs are simply outside the safe range of DIY, regardless of skill level. A professional colorist with wig experience is worth the cost in these situations:
- The wig is high-value. A $300+ human-hair wig is not the place to experiment.
- You need to go lighter. Lightening requires bleach, and bleach on a wig with an unknown processing history is unpredictable. A colorist with wig experience manages those risks far more reliably than a first-time DIYer.
- You want multi-tonal effects. Balayage, highlights, or complex color corrections require sectioning precision and timing that is difficult to execute alone on a wig stand.
- The wig has been heavily processed. Prior to bleaching, perming, or multiple dye jobs change how the hair responds to new color.
- The lace front is intricate or expensive. A stained lace front on a high-end wig is a costly mistake.
Rough cost expectations:
- DIY supplies (dye, developer, tools): $15–$40 for a basic single-color job.
- Salon wig color service: typically $75–$200+ depending on technique complexity and the colorist's experience with wigs.
How to find the right colorist: Search for "wig colorist" or "wig specialist" in your area rather than a general hair salon. Ask specifically whether the colorist has experience with wigs (not just natural hair), and ask to see examples of wig color work before booking.
What the research and pros consistently recommend
The guidance from wig specialists and recognized brands converges on a short list of non-negotiable practices.
- Strand test every time. Even if you have dyed the same wig before, a strand test catches changes in fiber condition that affect how color absorbs.
- Start light for vibrant color. For bright or saturated hues, a white or platinum base is the starting point. Applying vivid color over a dark base produces a muted, muddy result.
- Use the right dye family. Synthetic fibers need fabric dyes or alcohol inks; standard hair dye will not bond and creates a sticky mess. Human hair accepts standard hair color but needs extra conditioning because wig hair lacks the scalp oils that protect natural strands.
- Protect lace before you start. Petroleum jelly on the lace is the simplest and most effective barrier available.
- Temperature control is not optional for synthetics. A thermometer during hot-dip dyeing is the difference between a successful color job and a melted wig.
The safest DIY moves are deposit-only color on human hair and watercolor or alcohol-ink methods on synthetic wigs. Professional work is worth the cost for lightening, complex multi-tonal techniques, or any wig you cannot afford to replace.
Pro Tip: Experienced cosplayers often use a combination approach: Rit DyeMore for the base color on synthetic wigs, then Copic inks or diluted fabric paints to add depth and shading once the base is fully dry and set.
The practical case for knowing your limits
The most common mistake in wig dyeing is not a wrong product choice or a missed strand test. It is overestimating what a DIY process can safely achieve. Depositing color darker is forgiving. Lifting color lighter is not.
For cosplay wigs and inexpensive fashion pieces, DIY dyeing with Rit DyeMore, watercolor baths, or alcohol inks is a reasonable, cost-effective approach. The stakes are low, the methods are well-documented, and a mistake means buying a new wig rather than losing a significant investment.
For high-value human-hair wigs, the calculus shifts. The wig has no scalp oils to buffer chemical stress, its processing history is often unknown, and a single misjudged bleach application can destroy fiber integrity permanently. The $100–$200 a professional colorist charges for a wig color service is cheap insurance against a $400 replacement.
The honest recommendation: DIY for darker deposits and creative color on wigs you can afford to replace. Hire a pro for lightening, complex techniques, or any piece where the cost of failure exceeds the cost of professional help.
Sources
The sources below cover the specific methods and techniques referenced throughout this guide.
- How To Watercolor a Wig For Beautiful Results - L’Oréal Paris
- How to Dye a Human Hair Wig
- Wig Coloring 101: A Step-by-Step Guide
- Dye a wig with fabric dye | CosplayAdvice
- How to dye a synthetic wig : Harley Quinn pigtails
- Can You Dye a Human Hair Wig? The Honest Guide | Milk & Honey Wigs
- How to Dye a Human Hair Wig: A Complete DIY Guide